PNG images are useful because they keep images clear and support transparent backgrounds. I often use PNG files for website graphics, screenshots, logos, icons, and other digital content. The problem is that PNG files can sometimes become much larger than expected. A large image can take longer to upload, use more storage, and slow down a website.
When I face this problem, I prefer reducing the PNG file size online instead of installing another program on my computer. Online PNG compression tools are simple, quick, and convenient. I can upload an image, compress it, download the smaller version, and continue with my work.
In this article, I will explain how I reduce PNG file size online, what compression actually does, how to maintain good image quality, and what things I consider before uploading an image to a website.
Why PNG Files Can Be Large
Before reducing a PNG file, I think it is useful to understand why the file is large in the first place. PNG is a lossless image format, which means it is designed to preserve image information during compression. This is one reason PNG images can look very sharp, but it can also result in larger files.
Images with many colors, detailed graphics, transparency, and large dimensions can take up considerable storage space. A PNG screenshot containing lots of text and different colors may be much larger than a simple PNG logo.
For example, a small logo might only be a few hundred kilobytes, while a large screenshot or design could be several megabytes. If I am preparing images for a website, I do not always need the original file size. Reducing unnecessary data can make the image much easier to manage.
How I Reduce PNG File Size Online
The process is generally very simple. I usually start by choosing a trustworthy online PNG compression tool. There are many options available, and most work directly through a web browser.
First, I open the compression website and look for an upload button. I select the PNG image from my computer or drag the file into the upload area.
After uploading the image, the online tool processes it automatically. Some tools provide different compression levels, while others simply optimize the file in the background.
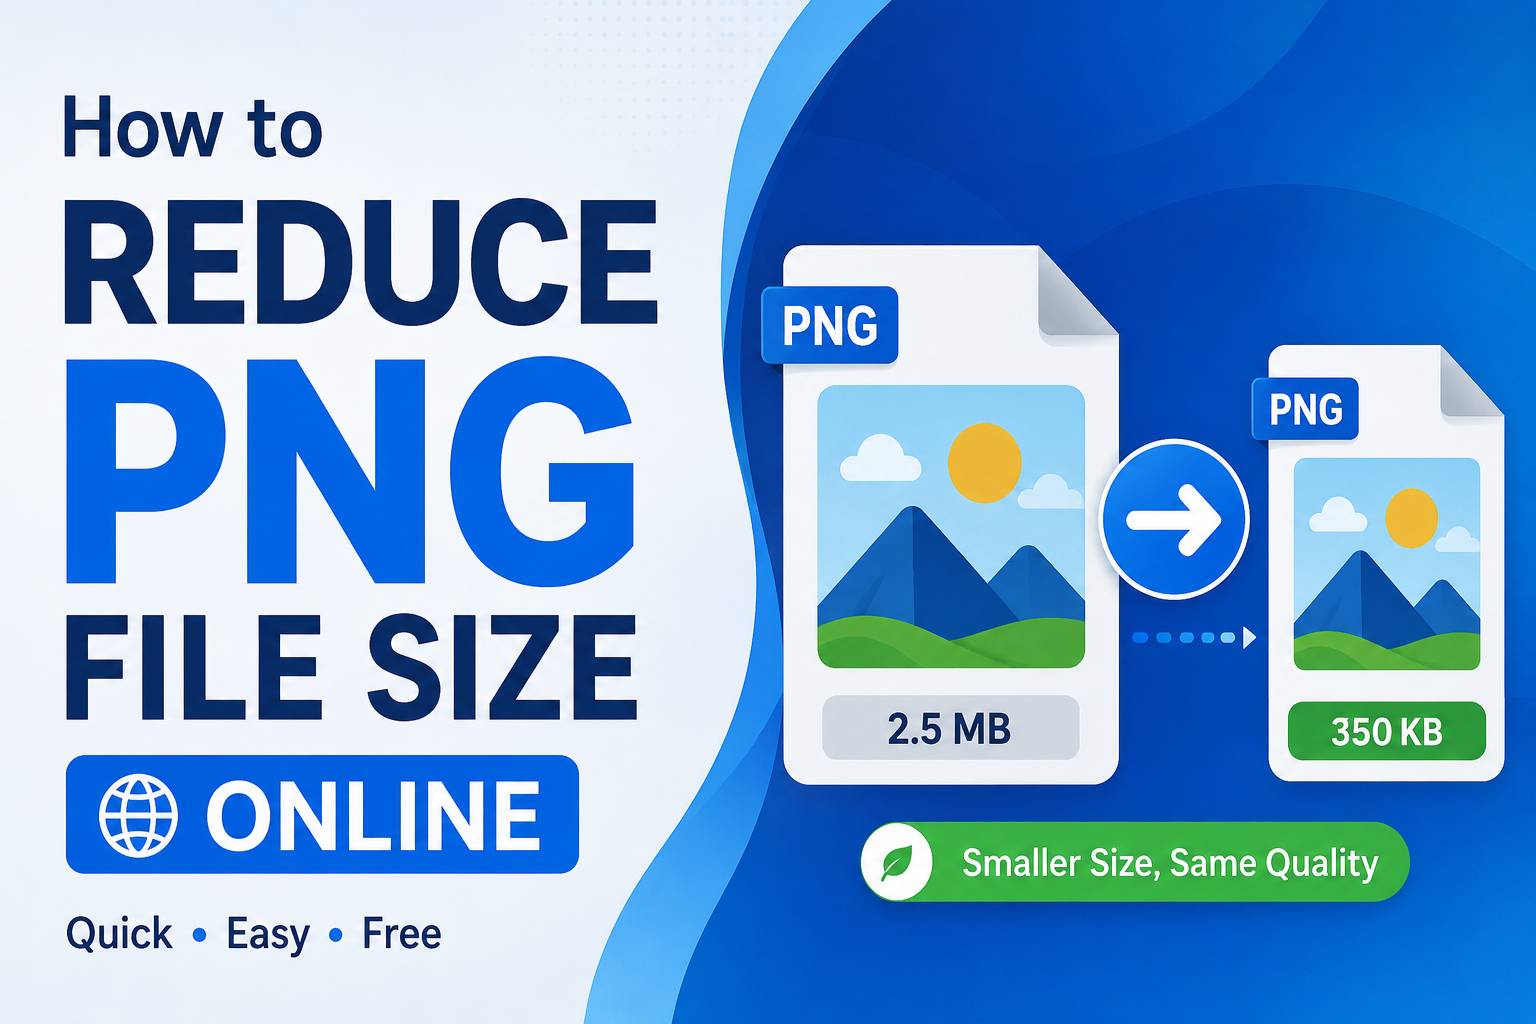
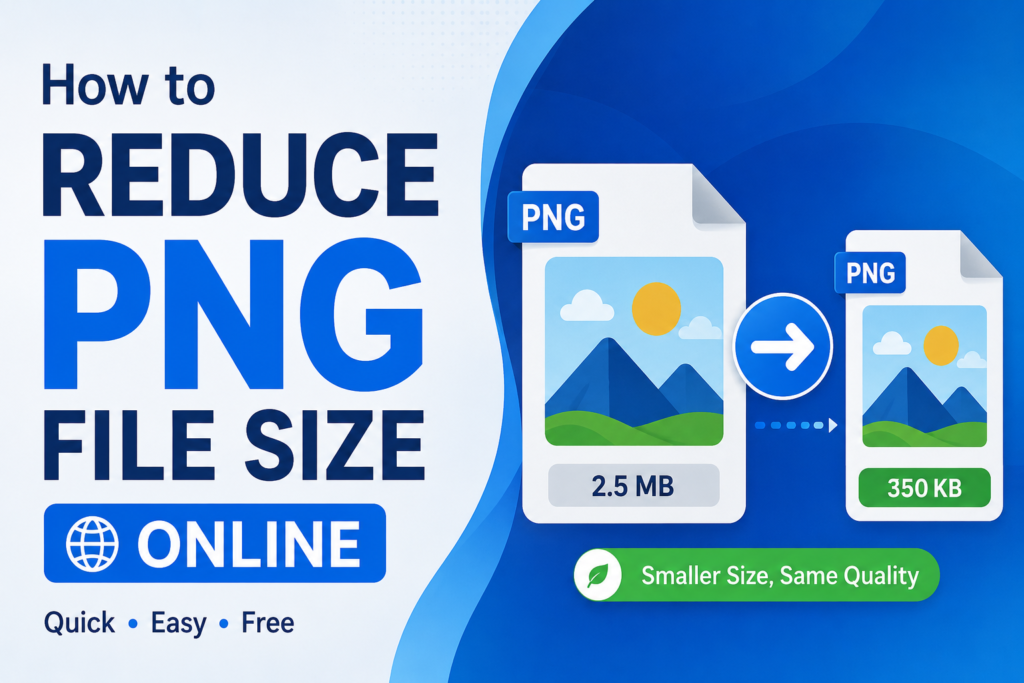
Once the compression is complete, I usually see the original size and the new file size. This gives me an idea of how much space has been saved. If the image still looks good, I download the compressed PNG and use it for my website or other project.
I like this approach because I do not need to install complicated software. It also works on most computers and can be useful when I need to compress an image quickly.
Choose the Right Compression Level
One thing I always consider is the balance between file size and image quality. The smallest possible file is not always the best choice.
Some online tools allow me to select a compression level. If I choose very aggressive compression, the file can become significantly smaller, but the image may lose some visual quality depending on how the tool processes it.
For website images, I normally prefer a balanced setting. My goal is to reduce unnecessary file size while keeping the image clear enough for visitors.
For simple graphics, I may be able to reduce the file size quite a lot without noticing any meaningful difference. For detailed images, I prefer being more careful because small quality changes can become visible.
Resize the PNG Before Compressing
Sometimes compression alone is not enough. If the PNG image has very large dimensions, I first consider resizing it.
For example, if I have an image that is much larger than the space where it will appear on my website, there may be no reason to keep the original dimensions.
Suppose an image is 3000 pixels wide, but my website only displays it at around 1000 pixels wide. In that situation, I can resize the image to a more appropriate dimension before or during the optimization process.
Reducing the physical dimensions of an image can have a major effect on file size. I find this especially useful for website images because oversized images can consume unnecessary storage and bandwidth.
However, I always keep a copy of the original image. That way, I can return to the original file if I need a larger version later.
Remove Unnecessary Image Data
PNG files can contain additional information that is not always needed. Depending on the software used to create the image, a file may contain metadata or other information.
Some online optimization tools can remove unnecessary data automatically while keeping the visible image unchanged. This can help reduce the final file size without requiring me to manually edit the image.
I usually prefer automatic optimization because it saves time. Instead of opening the image in a complicated editor and changing several settings, I can let the online tool handle basic optimization.
Check Image Quality After Compression
I never download a compressed image and immediately assume that everything is perfect. I prefer checking it first.
After compression, I open the image and compare it with the original. I look at text, edges, transparency, colors, and small details.
This is particularly important for logos, screenshots, diagrams, and graphics containing text. If the compressed version looks noticeably worse, I try another compression setting.
For a normal website image, a small difference may not matter. However, if I am uploading an important graphic, I want it to remain sharp and professional.
The main idea is to reduce the file size without damaging the purpose of the image.
Why Smaller PNG Files Are Useful for Websites
One of the biggest reasons I reduce PNG file sizes is website performance. Large images require more data to load, especially for visitors using slower internet connections.
If a webpage contains several large images, the total amount of data can become significant. Smaller files can help reduce the amount of information that visitors need to download.
This can create a better browsing experience. Pages may load more efficiently, and visitors are less likely to wait for large images to appear.
Smaller image files can also make managing a website easier. They require less storage and can make media libraries more organized over time.
For anyone running a blog or content website, image optimization is something I believe should become part of the normal publishing process.
PNG Compression for WordPress
If I am uploading PNG images to WordPress, I try to optimize them before adding them to the media library.
This is because uploading unnecessarily large images can make the website media library grow quickly. If I publish articles regularly, these large files can add up over time.
I usually resize an image when necessary and then compress the PNG online. After checking the result, I upload the optimized version to WordPress.
I also try to avoid uploading several versions of the same large image unless they are genuinely needed. Keeping image files organized makes website management much easier.
When PNG Is the Best Choice
I do not compress every image simply because it is a PNG. Sometimes PNG is the right format for the job.
I prefer PNG when I need transparency, sharp graphics, logos, icons, screenshots, or images containing clear text. PNG can preserve these elements very well.
For photographs, however, I often consider other image formats because photographs can become quite large as PNG files. The best format depends on the type of image and how it will be used.
Choosing an appropriate format before compression can sometimes make a bigger difference than compression alone.
Is Online PNG Compression Safe?
When I use an online image compression service, I pay attention to privacy. An image uploaded to an online service is transferred to another system for processing, so I avoid uploading sensitive or private images unless I trust the service and understand its privacy practices.
For normal website graphics, logos, illustrations, and public images, online compression can be very convenient.
For confidential screenshots, personal documents, or private images, I would rather use a trusted offline application if privacy is important.
This is one small step I take to avoid unnecessary privacy risks.
Common Mistakes I Try to Avoid
There are several mistakes that can make image optimization less effective.
One mistake is compressing an already compressed image repeatedly. Each time I process an image, I want to make sure the result still looks good.
Another mistake is reducing the image dimensions too much. A file may become extremely small, but the image can look blurry when displayed on a larger screen.
I also avoid deleting my original image. Keeping the original gives me the flexibility to create another optimized version later.
Finally, I do not focus only on file size. Quality and purpose are equally important.
Final Thoughts
Reducing PNG file size online is one of the easiest ways I know to make images more manageable. I can upload a PNG, let an online tool optimize it, check the result, and download a smaller version within a short time.
For my own workflow, I prefer combining compression with sensible image resizing. This usually gives me better results than relying on compression alone.
If you are preparing images for a website, blog, WordPress project, email, or online application, reducing unnecessary PNG file size can save storage and make files easier to handle.
The most important thing, in my opinion, is finding the right balance. I do not want the smallest possible image if it looks poor. I want an image that is small enough to load efficiently while still looking clear and professional.
Once PNG optimization becomes part of my regular workflow, it does not feel like an extra task anymore. It becomes a simple step I take before publishing or sharing an image, and that small habit can make a noticeable difference over time.