Images are an important part of almost every website, blog, online store, and social media platform. I personally use JPG images quite often because they provide good quality without taking as much space as some other image formats. However, there are times when a JPG image is simply too large. A large image can take longer to upload, consume more storage, and slow down a website.
This is where image compression becomes useful. The good thing is that I do not always need expensive software to reduce the size of my images. There are many free online tools that allow me to compress JPG images directly from a web browser.
In this article, I will explain how I compress JPG images online for free, what image compression actually means, how to choose the right compression level, and what I do to keep the image looking good after reducing its size.
What Is JPG Image Compression?
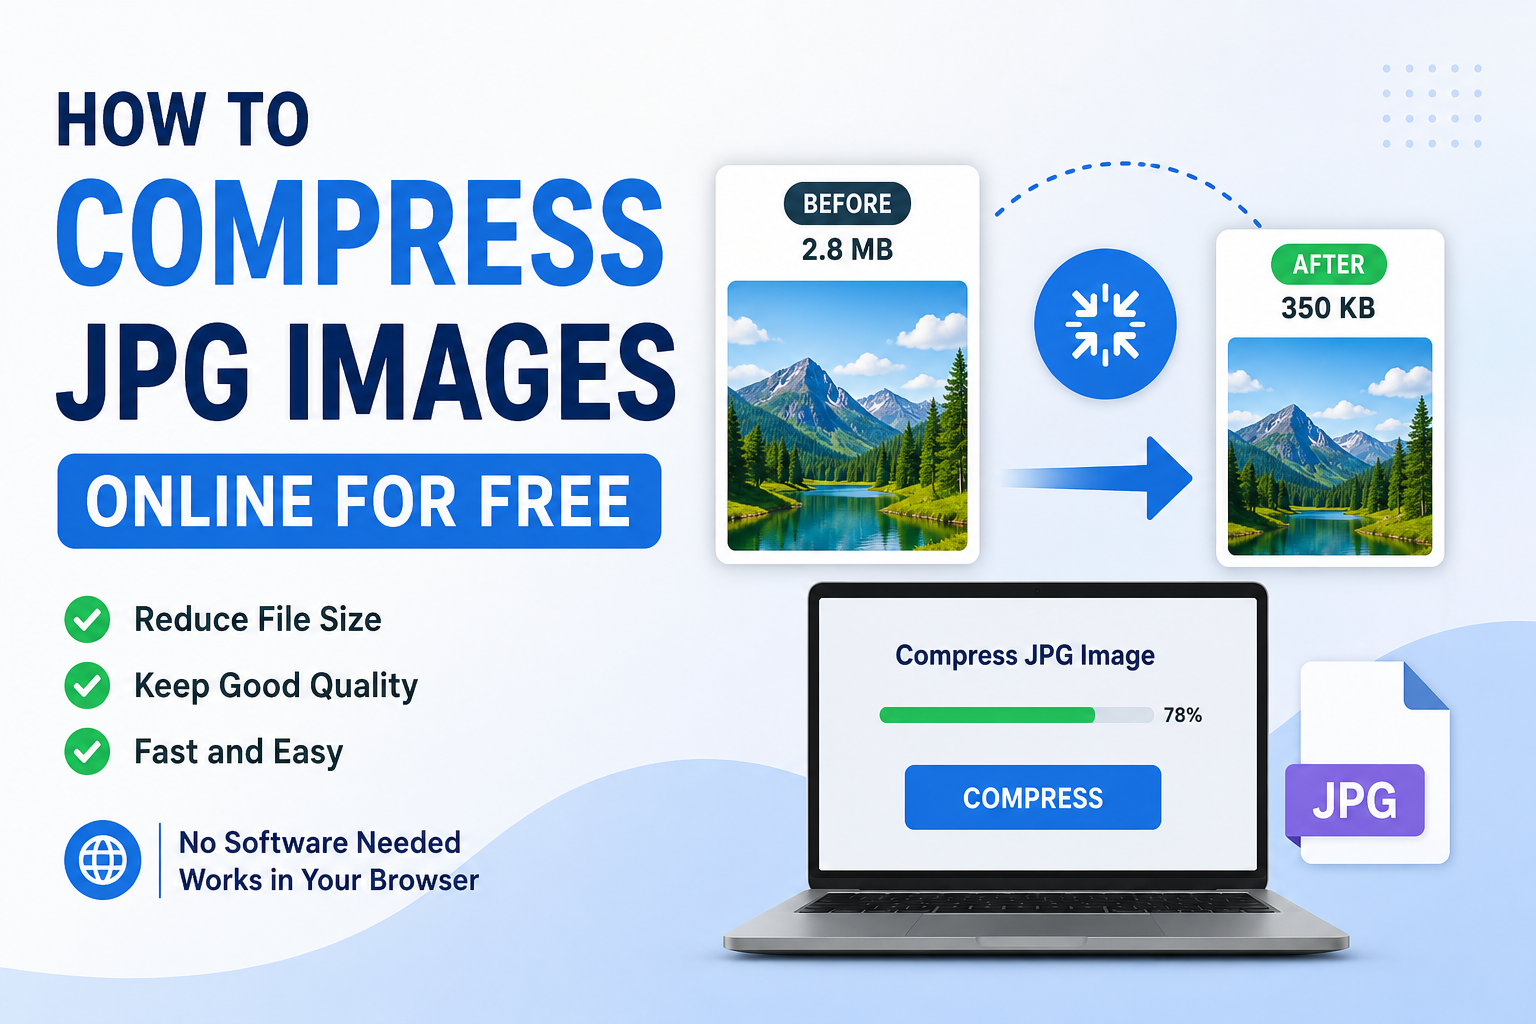
JPG image compression is the process of reducing the file size of a JPG image while trying to maintain acceptable visual quality. When I compress an image, unnecessary or less noticeable image information is reduced so the final file takes up less storage space.
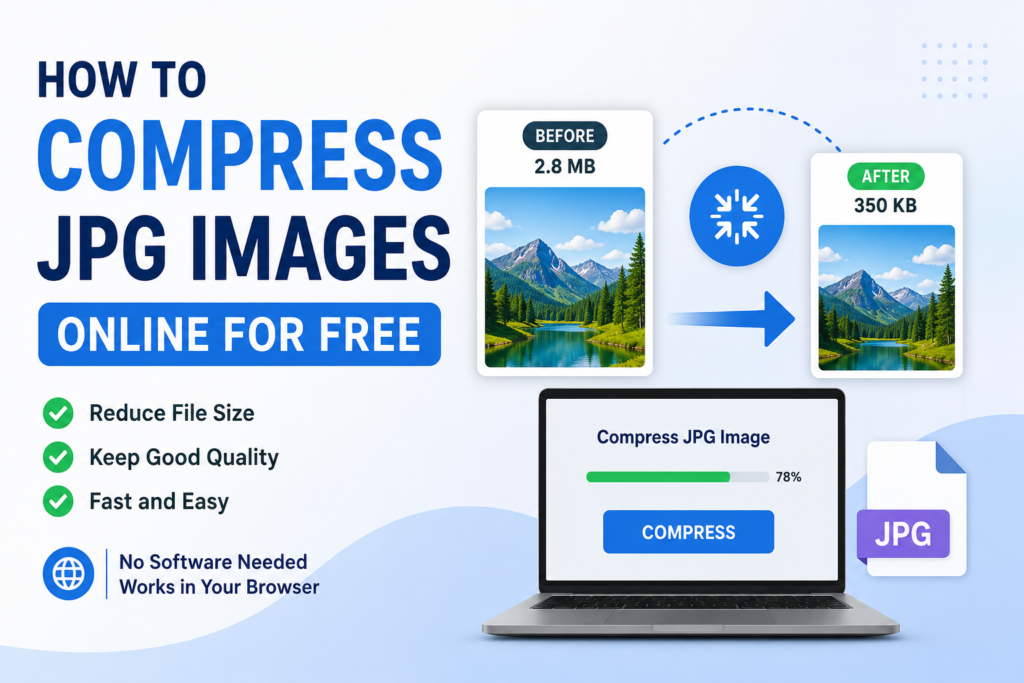
For example, if I have a JPG image that is 3 MB, compression may reduce it to 800 KB or even less. The exact result depends on the original image, its dimensions, and the compression level I choose.
There are two common approaches to compression. Lossy compression removes some image information to achieve a much smaller file size. Lossless compression reduces the file size while preserving the original information as much as possible.
For everyday website images, I usually find that carefully applied lossy compression provides a good balance between file size and quality.
Why Should I Compress JPG Images?
There are several reasons why I prefer to compress images before uploading or sharing them.
The first reason is website speed. Large images can increase the amount of data a browser needs to download. Smaller images generally require less data, which can help pages load more efficiently.
Another reason is storage. If I regularly work with photographs, screenshots, and graphics, the file sizes can quickly add up. Compressing them helps me save storage space on my computer and online accounts.
Compression is also useful when uploading images to websites that have file size limits. Sometimes an image looks perfectly fine but cannot be uploaded because the file is too large. Reducing its size can solve the problem.
I also find compressed images easier to send through email or messaging platforms. A smaller file can be uploaded and transferred more conveniently.
How to Compress JPG Images Online for Free
The process is usually very simple. I can do it without installing any software.
Step 1: Choose the JPG Image
First, I select the JPG image that I want to compress. Before uploading it, I check its current file size. This gives me a simple way to compare the original image with the compressed version later.
I also make sure that I am using the correct image. If the original photo is important, I prefer to keep a backup copy before compression.
Step 2: Open a Free Online Image Compressor
Next, I open a free online JPG compression tool in my browser. Many online tools work directly from a webpage, so I do not need to install a program.
Most of these websites have a simple upload button. I select my JPG file from my computer or mobile device and wait for the upload to finish.
When choosing an online tool, I personally pay attention to how simple the interface is. I also prefer services that clearly explain how uploaded files are handled and whether they are automatically deleted after processing.
Step 3: Upload the JPG
After selecting the compressor, I upload my image. Some tools allow me to upload multiple images at once, which is useful when I have a large collection of photos.
The upload time depends on the original file size and my internet connection. Once the image is uploaded, the tool normally processes it automatically.
Step 4: Select the Compression Level
Some free image compressors provide different quality settings. This is one of the most important steps because a very high compression level can make an image look noticeably worse.
If the image is intended for a website, I usually start with a moderate compression level. I then check the result before deciding whether I want to compress it further.
For photographs, a small reduction in quality is often difficult to notice. However, screenshots, logos, illustrations, and images containing text may require more careful compression.
Step 5: Compare the Original and Compressed Image
After compression, I compare the new image with the original. I look at important details such as faces, text, edges, shadows, and small objects.
If the compressed version still looks clear, I am usually comfortable using it.
If I notice visible artifacts, blurry details, strange blocks, or excessive loss of sharpness, I try a lower compression level.
I believe this comparison is more important than simply trying to achieve the smallest possible file size. An extremely small image is not useful if it looks poor.
Step 6: Download the Compressed JPG
Once I am happy with the result, I download the compressed JPG to my device. I normally give the file a meaningful name so I can identify it later.
I also check the final file size. This tells me how much space I have saved compared with the original image.
How Much Can a JPG Image Be Compressed?
There is no single compression percentage that works for every JPG image. The amount of reduction depends on the content of the image.
A photograph with many colors and details may respond differently to compression than a simple graphic with large areas of similar colors.
For example, a large photograph might be reduced significantly while still looking good. On the other hand, a screenshot containing small text may lose readability if I compress it too aggressively.
This is why I prefer to judge the result visually instead of following a fixed compression percentage.
My main goal is to reduce the file size while keeping the image useful for its intended purpose.
Compressing JPG Images Without Losing Too Much Quality
When I want to maintain image quality, I follow a few simple practices.
First, I avoid extreme compression. Reducing the file size too aggressively can create visible artifacts.
Second, I consider the image dimensions. Sometimes the problem is not only the JPG quality but also the actual width and height of the image.
For example, if I have a photograph that is 5000 pixels wide but only need it for a website, keeping such a large resolution may be unnecessary. Resizing the image before or during compression can reduce the file size considerably.
Third, I always check the final image at a normal viewing size. An image can look slightly different when zoomed in very closely but still appear perfectly fine on a website.
Should I Resize a JPG Before Compressing It?
In many situations, yes. Resizing and compression are two different processes, but they can work well together.
If an image has unnecessarily large dimensions, reducing its width and height can make a significant difference in file size.
For example, a photo captured by a modern smartphone may have a very high resolution. If I only need the image for a blog post, I may not need the full original resolution.
I usually think about where the image will be used before deciding its dimensions. A website banner, blog image, profile picture, and printed photograph may all require different sizes.
Is Online JPG Compression Safe?
Online compression is convenient, but I think privacy should always be considered.
If I am compressing an ordinary blog image or a public photograph, an online tool may be perfectly practical. However, I would be more careful with private documents, confidential business images, personal identification documents, or sensitive photographs.
Before uploading an important image, I check the website’s privacy information and understand how uploaded files are handled.
For highly sensitive images, I prefer using trusted software that processes files directly on my own device.
Common Mistakes I Avoid
One common mistake is focusing only on the smallest possible file size. Smaller is not always better. If compression destroys important details, the image may no longer be useful.
Another mistake is repeatedly compressing the same JPG file. JPG compression can remove information, and repeatedly saving an already compressed image may gradually reduce quality.
I prefer to keep the original file and create a compressed copy from it. This gives me a clean source whenever I need to create another version.
I also avoid uploading unnecessarily large images to websites. Before publishing an image, I check both its dimensions and file size.
Benefits of Compressing JPG Images for Websites
For bloggers and website owners, image compression can be particularly helpful.
Smaller images require less data to load, which can contribute to a better browsing experience. This can be especially important for visitors using mobile connections or slower internet speeds.
Compressed images also use less hosting storage and bandwidth. If a website contains hundreds or thousands of images, these savings can become meaningful over time.
I also think compressed images make website management easier because files are quicker to upload, download, organize, and back up.
Final Thoughts
Compressing JPG images online for free is one of the easiest ways to reduce image file sizes without needing complicated software. I can simply choose an image, upload it to a suitable online compressor, select a reasonable compression level, compare the result, and download the smaller file.
For me, the most important part is finding the right balance between size and quality. I do not try to make every image as small as possible. Instead, I aim for a file that loads efficiently while still looking clear and professional.
If I am preparing images for a website, I also consider resizing them when their dimensions are unnecessarily large. Keeping the original image as a backup is another habit I find useful because it allows me to create new versions whenever needed.
Overall, free online JPG compression is a practical solution for bloggers, students, website owners, photographers, and everyday users. With a little attention to quality and privacy, I can make my images smaller, easier to manage, and more suitable for online use without spending money on expensive software.