
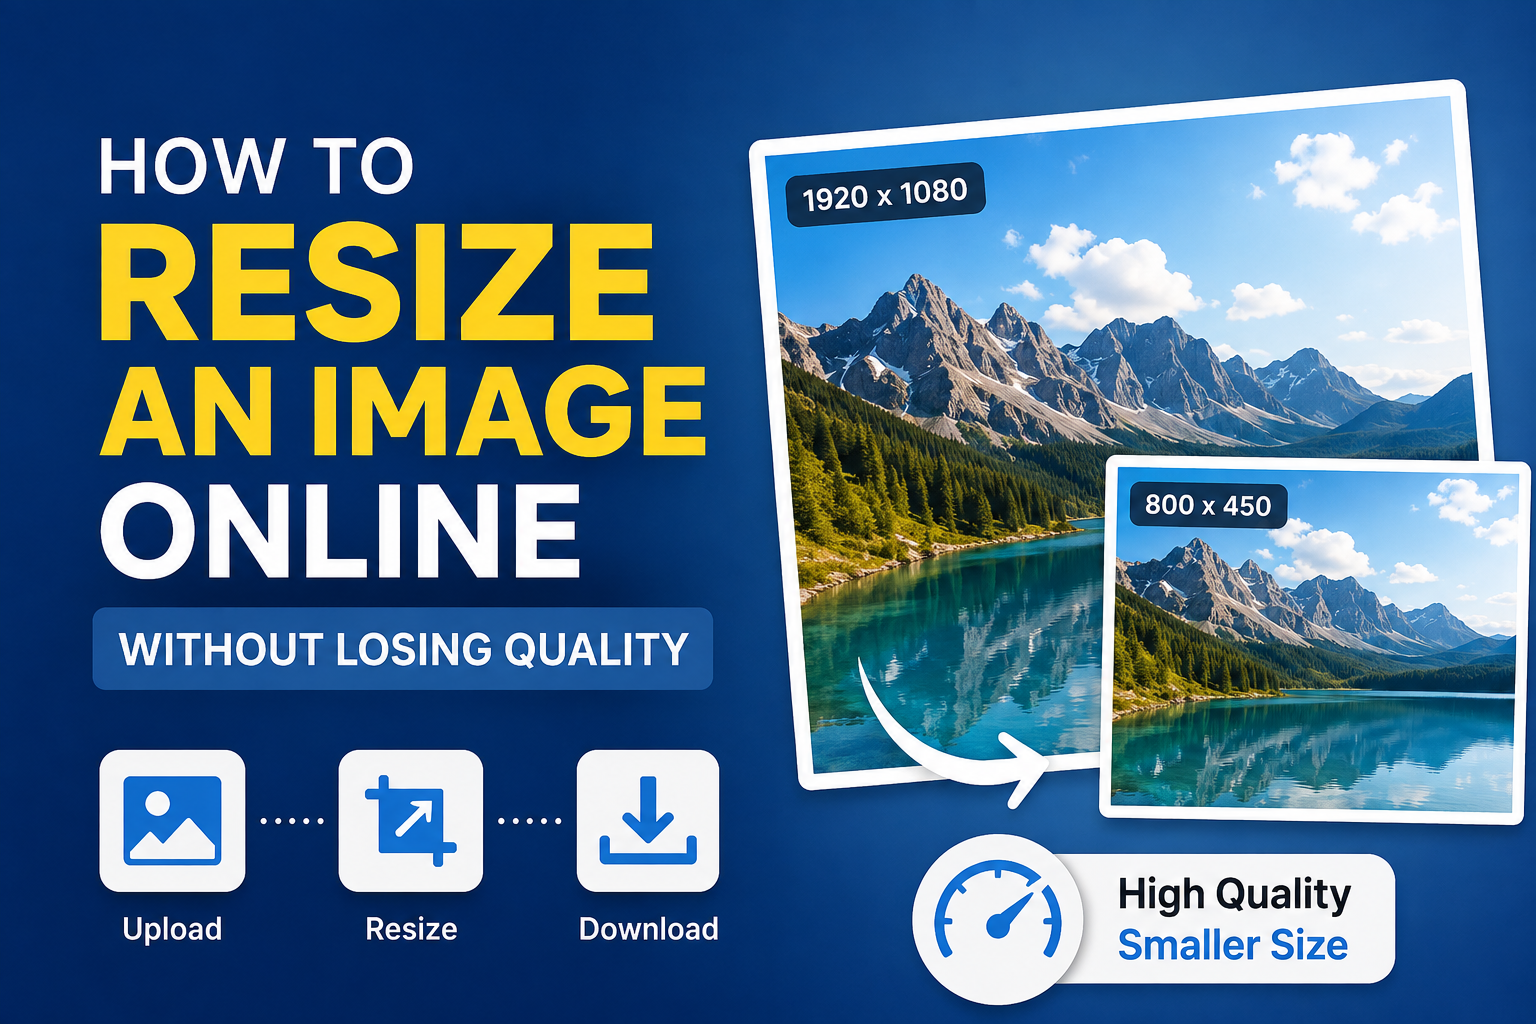
Resizing an image sounds like a simple task, but I have learned that getting the right size while keeping the image clear can sometimes be difficult. When an image becomes too large for a website, social media post, email, or document, I usually need to reduce its dimensions or file size. The problem is that many basic resizing tools can make an image blurry, pixelated, or less attractive.
In my experience, the key to resizing an image properly is not simply changing its width and height. You also need to understand image resolution, file formats, compression, and the purpose of the image. Once I understood these things, resizing images became much easier for me.
In this article, I will explain how I resize images online without losing unnecessary quality and what I consider important when choosing an online image resizing tool.
Why Image Quality Can Decrease After Resizing
Before resizing an image, I think it is useful to understand why quality sometimes gets worse.
Every digital image is made up of pixels. When I make an image smaller, some pixels have to be removed or combined. A good resizing tool handles this process carefully. A poor tool may produce an image that looks soft or blurry.
Making an image larger can be even more challenging. When I enlarge a small image, the software has to create additional pixels that were not present in the original. This can result in a pixelated or blurry image.
For this reason, I always try to start with the highest quality version of an image available. A large original image gives me more flexibility when I need different sizes later.
Choose the Right Online Resizing Tool
The first thing I look for is a reliable online image resizing tool. There are many websites available, but not all of them produce the same results.
I prefer tools that allow me to enter exact dimensions instead of simply choosing a random size. I also look for options related to image quality, compression, file format, and aspect ratio.
Another thing I consider is whether the website adds a watermark. If I am preparing an image for a website or professional project, I generally prefer a tool that does not place an unwanted watermark on the final image.
I also pay attention to privacy. If an image contains personal or private information, I avoid uploading it to an unfamiliar website.
Upload the Original Image
Once I choose a suitable tool, I upload the original image.
I always recommend keeping a copy of the original file before resizing it. This is a small habit that can save a lot of trouble later. If the resized version does not look good, I can return to the original and try different settings.
I also check the original image dimensions before changing anything. For example, an image might be 4000 pixels wide and 3000 pixels high. If I only need it for a website, that size may be much larger than necessary.
Starting with the original also gives me the best chance of maintaining quality.
Maintain the Original Aspect Ratio
One of the most important things I check when resizing an image is the aspect ratio.
The aspect ratio describes the relationship between the width and height of an image. If I change the width without changing the height proportionally, the image can look stretched or compressed.
For example, imagine I have a landscape image that is 1600 pixels wide and 900 pixels high. If I change the width to 800 pixels but keep the height at 900 pixels, the image will look distorted.
Most good online resizing tools provide a feature called Lock Aspect Ratio or something similar. I normally keep this option enabled.
This allows the tool to adjust the height automatically when I change the width. For me, this is one of the easiest ways to avoid distorted images.
Resize According to Your Purpose
I do not use the same image dimensions for every situation. The correct size depends on where I plan to use the image.
For a website, I usually resize an image so it is large enough to look sharp but not unnecessarily large. Huge images can increase loading time and make a website slower.
For social media, I check the recommended dimensions for the particular platform. Different platforms may display images differently, so preparing the correct dimensions can make a noticeable difference.
For email, I often reduce the image dimensions and file size because extremely large images can make messages heavier and slower to load.
For documents, presentations, or personal storage, I may use different dimensions depending on how the image will be displayed.
The main idea is that I resize an image based on its actual purpose rather than choosing an arbitrary number.
Use High Quality Settings
Many online image resizing tools provide a quality slider or compression setting. I pay close attention to this option.
If I select extremely high compression, the file may become much smaller, but visible quality can suffer. If I use very low compression, the image may look excellent but the file can remain unnecessarily large.
I normally try to find a balance.
For photographs, a good quality JPEG can provide a useful combination of visual quality and smaller file size. For images that require transparency or sharp graphics, another format may be more appropriate.
I always preview the final image before downloading it when the tool provides a preview option.
Choose the Right File Format
File format can make a big difference.
JPEG is commonly useful for photographs and images containing many colors. It can create relatively small files, but it uses compression that can reduce quality.
PNG is useful when I need transparency or when an image contains sharp graphics, text, or simple shapes. However, PNG files can sometimes be much larger than JPEG files.
WebP is another format that can provide good quality with a relatively small file size, especially for websites. Whether I use it depends on where I plan to use the image and whether the destination supports it.
I do not automatically choose the smallest file. I choose the format that makes sense for the image and its intended use.
Avoid Enlarging Small Images Too Much
One mistake I try to avoid is taking a very small image and making it several times larger.
For example, if I have a 500 pixel wide image, enlarging it to 3000 pixels will not magically create the detail that was missing from the original.
Some modern tools use advanced image enhancement technology to improve enlarged images. These tools can sometimes produce impressive results, but I still prefer using a high resolution original whenever possible.
If I know I will need a large image later, I save the largest good quality version instead of keeping only a small copy.
Consider Resolution and Pixels
Resolution is another term I often see when working with images. Depending on the situation, people may talk about pixels, pixel dimensions, or dots per inch.
For online images, pixel dimensions are usually more important than DPI. A website primarily cares about how many pixels wide and tall the image is.
For printing, resolution becomes more important because the physical print size and pixel density work together.
When I am preparing an image for a website, I usually focus first on the actual pixel dimensions and file size.
Check the Image After Resizing
I never assume an image looks good simply because the resizing process finished successfully.
After downloading the resized image, I open it and inspect it carefully.
I look at small text, faces, edges, fine details, and areas with strong contrast. These are often the places where quality problems become noticeable first.
I also compare the resized image with the original when possible. This helps me decide whether the quality reduction is acceptable.
Sometimes I find that reducing the dimensions slightly more gives me a much smaller file without creating a noticeable visual difference.
Do Not Overcompress the Image
File size is important, especially for websites, but I do not believe that making an image as small as possible is always the best approach.
Extreme compression can introduce visible artifacts. These may appear as strange blocks, blurry details, rough edges, or unusual patterns around text.
I prefer reducing the dimensions first when an image is unnecessarily large and then using moderate compression.
This approach often gives me a better balance between quality and file size.
Keep the Original File Safe
Another simple habit I follow is keeping the original image.
Once an image has been reduced in size and compressed, I cannot always restore it to exactly the original quality.
That is why I treat the original file as my master copy. I create smaller versions from it whenever necessary.
This is particularly useful when managing website images. I might need one version for a blog post, another for social media, and another for a thumbnail.
Having the original makes all of these tasks easier.
Tips for Website Images
If I am resizing an image for WordPress or another website, I pay extra attention to file size.
Large images can take longer to load, especially for visitors using slower internet connections or mobile devices.
I generally resize images to dimensions that make sense for the website rather than uploading huge photographs directly from a camera.
I also use appropriate compression and a modern image format when supported.
Good image optimization is not only about appearance. It can also contribute to a better website experience because visitors do not have to wait unnecessarily long for large files to load.
Can You Resize an Image Without Any Quality Loss?
Technically, resizing an image often involves some change to the original pixel information, so I would not promise that every resizing operation results in zero quality loss.
However, in many situations, the quality difference can be so small that it is difficult to notice.
The best results usually come from starting with a high quality original, reducing the image to a reasonable size, maintaining the aspect ratio, choosing suitable compression, and using the correct file format.
I find that these simple steps are much more important than trying to find a magical setting that promises perfect results.
Final Thoughts
Resizing an image online without noticeably damaging its quality is easier when I approach the process carefully. I start with the original image, choose a trustworthy resizing tool, maintain the aspect ratio, select the correct dimensions, and use reasonable compression.
I also think about where the image will be used before deciding how much to resize it. A website image does not necessarily need the same dimensions as a printed photograph or a social media graphic.
Most importantly, I never delete the original image after creating a smaller version. Keeping the original gives me the freedom to create new versions whenever I need them.
For me, successful image resizing is really about finding the right balance. The goal is not simply to make an image smaller. The goal is to create an image that still looks clear and professional while having a practical file size for its intended purpose. With the right approach, online image resizing can be quick, simple, and effective even if you have no professional photo editing experience.
